5 steps for a successful Intune Company Portal
Company Portal may seem like just another app, but it is, in fact, a critically important platform for any modern enterprise. Company Portal’s success, however, is not just about making apps available; it’s about creating an experience that employees actually want to use. So, what does an unsuccessful Company Portal look like? It’s a digital ghost town, or worse, a cluttered warehouse where users are overwhelmed by hundreds of applications, can’t find the tools they need, and ultimately give up, reverting to filing help desk tickets.
Company Portal chaos arises when mandatory apps clutter the view, when apps for the finance department are shown to the engineering team, and when a lack of organization turns self-service into a frustrating scavenger hunt. Company Portal transformation is the process of moving from that state of disorder to a curated, intuitive, and user-friendly experience.
So, how do you systematically transform a potential list of hundreds of apps into a strategic asset? By following a clear, step-by-step framework. Let’s break down how to build a successful Intune Company Portal in 5 steps.
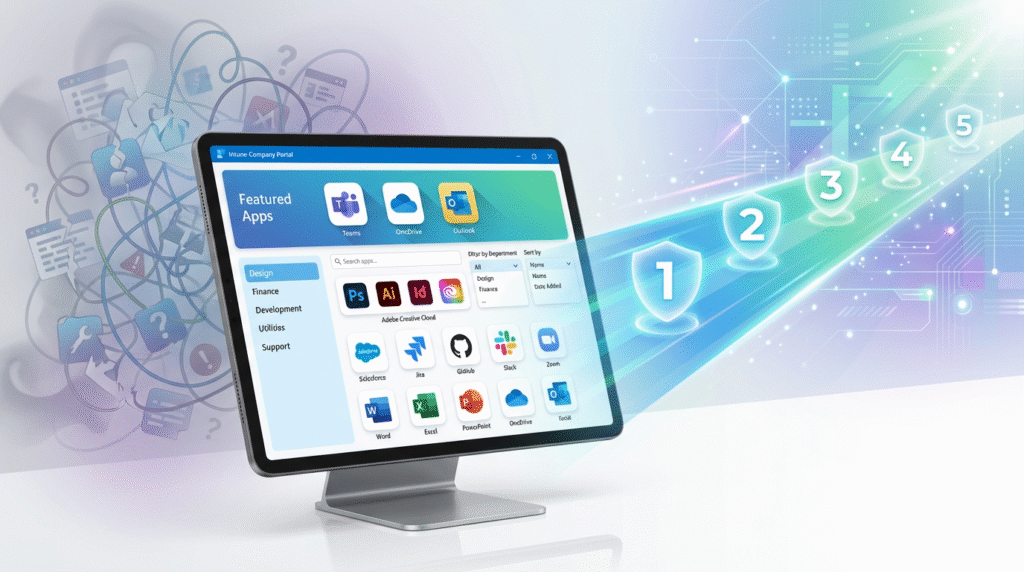
Table of Contents
1. The Golden Rule: Required vs. Available
The most fundamental principle is to understand the deployment intent.
- Required Apps: These are non-negotiable. Every user or device must have them. These apps should NOT appear in the Company Portal. Deploy them as “Required” to “All Devices” or, better yet, to dynamic device groups. The user experience for these is a silent installation in the background or a mandatory prompt—not a choice.
- Available Apps: These are the tools users can choose to install themselves. This is what belongs in the Company Portal. By keeping mandatory apps out, you immediately declutter the interface and reduce user confusion.
Pro Tip: Use Dynamic Device Groups for required apps (e.g., “All Windows 11 Corporate Devices”) for automated, scalable management.
2. Strategic App Organization: The Key to “Beautiful”
A “beautiful” portal is an organized one. With hundreds of apps, organization isn’t a luxury; it’s a necessity.
A. Master App Categorization
This is your most powerful tool for usability. Group applications logically so users can filter and find what they need.
- By Department: Finance, HR, Marketing, IT, Engineering.
- By Function: Design Software, Development Tools, Database Clients, Utilities.
- By Project: Project Alpha, Project XYZ.
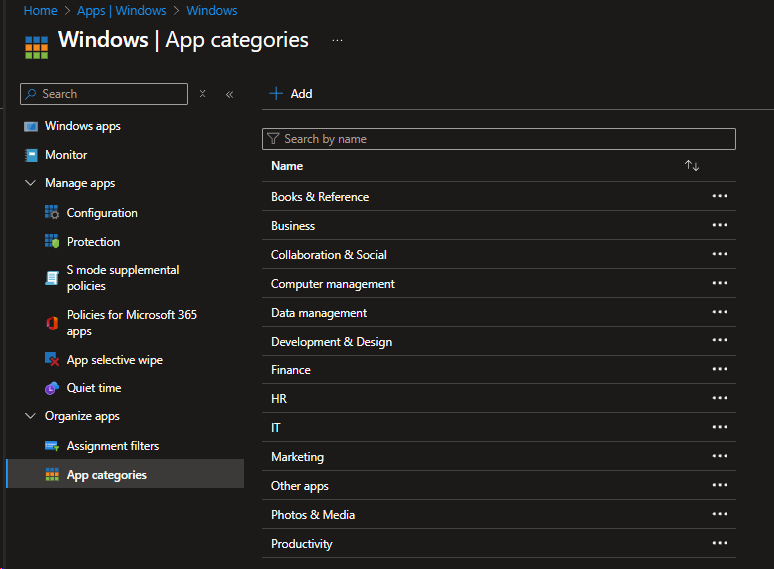
Action Plan: Work with department heads to create a standard list of categories. Enforce this naming convention rigorously when publishing every new app. A user looking for Adobe Photoshop should be able to click “Design Software” and find it instantly, rather than scrolling through an endless list of all apps.
B. Implement Targeted Audience Targeting
Not everyone needs every app. Deploying all applications to “All Users” is a recipe for a cluttered and confusing portal. Use Entra ID Security Groups to target apps only to the users who need them.
Create groups like:
AdobeCreativeCloud-App-AvailableVisioPro-App-AvailableSQLManagementStudio-App-Available
This way, the Finance team doesn’t see developer tools, and the Marketing team doesn’t see accounting software. This targeted approach dramatically simplifies the interface for each user.
C. Curate a “Featured Apps” Section
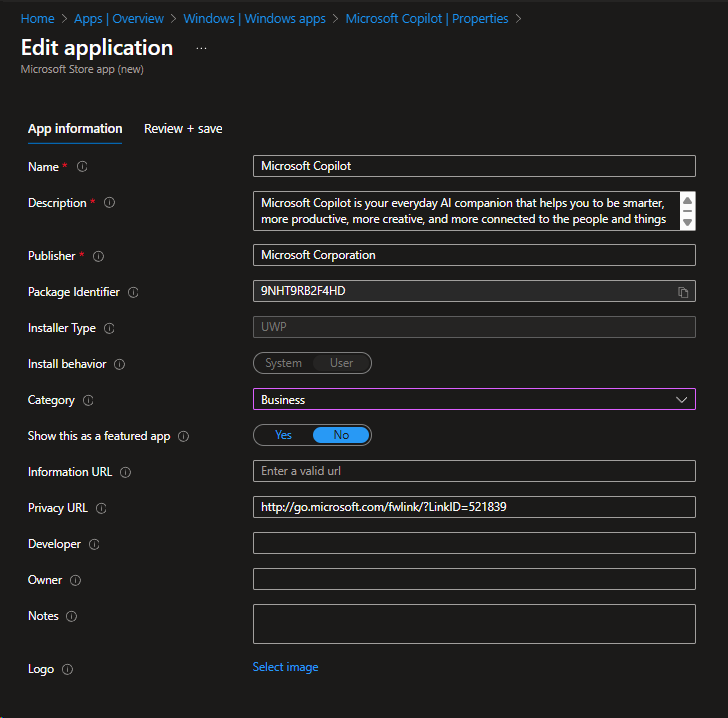
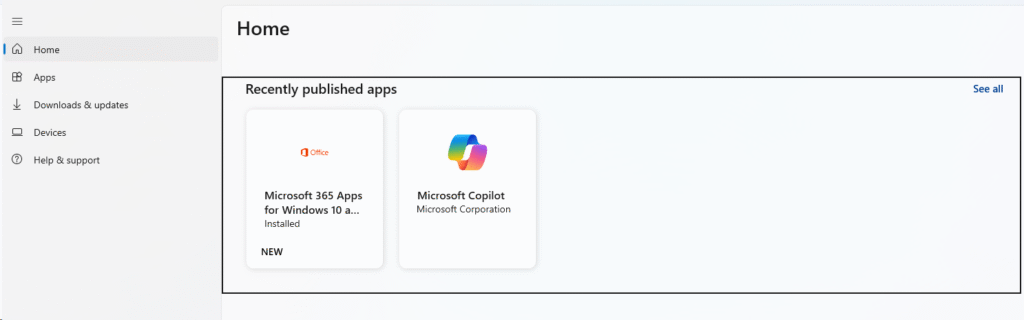
The Company Portal allows you to feature popular or critical applications. Use this space to highlight:
- Newly approved software.
- Essential tools for new hires (e.g., “First Day Essentials”).
- Apps related to a company-wide initiative.
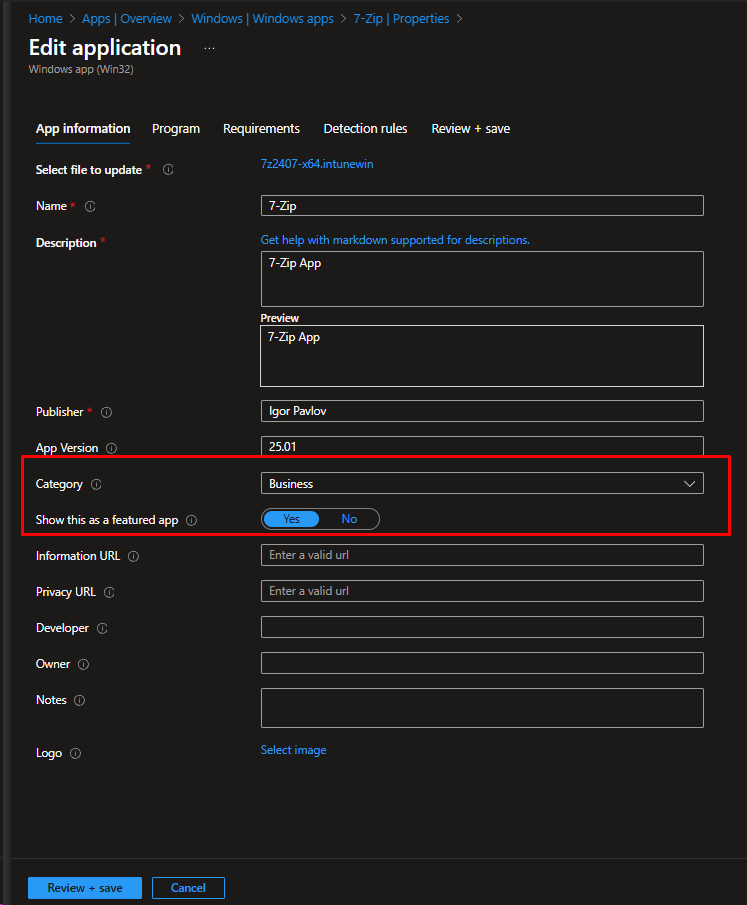
This provides a guided starting point for users exploring the portal.
3. The Art of Presentation: Making it “Beautiful”
Now, let’s talk about the visual aspect. A consistent and professional look builds trust and makes the portal feel like a curated service, not a random app dump.
- High-Quality Icons: Ditch the blurry, mismatched icons. Standardize on clear, high-resolution logos for every application. As suggested in the community, resources like Aaron Parker’s icons GitHub repository are an excellent starting point for consistent, professional-looking icons.
- Accurate Metadata: Ensure the application Name, Publisher, and Description are filled out accurately and consistently. A clear description helps a user understand what the app is for without having to guess or ask a colleague.
4. Deployment & Packaging Best Practices
A well-organized portal is useless if the apps don’t install reliably.
- Standardize Your Packaging: Use a consistent and robust tool for creating your
.intunewinfiles. Check the tool Win32 Application Preparation Tool that i created can significantly streamline this process.. - Pilot Everything: Before rolling an app out to an entire department, deploy it to a small pilot group (e.g., Close Testing Group”). This helps catch installation issues, confusing descriptions, or incorrect targeting before they affect a large user base.
5. The Governance Conversation: Pushing Back on “Hundreds of Apps”
This is perhaps the most critical step. You must be a strategic partner, not just an order taker.
Before adding hundreds of apps, ask these questions with your architect:
- Who supports this? If a user installs a niche app from the portal and it breaks, who is responsible for troubleshooting?
- Who manages updates and security? Every application is a potential security vector. Who is tracking vulnerabilities (CVEs) and ensuring updates are packaged and deployed promptly? (probably the Intune Administrator but it’s important at least to define that)
- Is this app truly needed? Work with departments to create a list of approved and required software. Often, 20% of the apps will meet 80% of the user needs. Start with that 20%.
Pro Tip: Formalize a Change Management Process. Before any new app is published to the portal, it should go through a defined workflow. This process should include:
- Formal Request & Business Justification: Why is this app needed?
- Security & Compatibility Vetting: Does it meet our standards?
- Packaging & Testing: Does it install and work correctly?
- Targeting & Categorization: Which groups and categories does it belong to?
- User Communication: How will we let the relevant users know it’s available?
Your Phased Implementation Plan
- Phase 1: Foundation. Define your app categories and security group naming convention. Get stakeholder buy-in.
- Phase 2: Cleanup. Audit your current Intune apps. Ensure all mandatory apps are set to “Required” and hidden from the portal.
- Phase 3: Pilot. Select one department (e.g., Finance). Package their key available apps, apply categories, icons, and target them using security groups. Get feedback from the pilot group.
- Phase 4: Refine and Rollout. Adjust your strategy based on feedback and begin rolling out to other departments methodically.
By following this structured approach, you transform the Company Portal from a daunting list of every possible application into a curated, self-service IT storefront. It becomes a tool that is truly “beautiful” in its functionality and ease of use, making both users and architects happy.